Short Summary
Are you struggling to tame those tough limescale deposits? Regularly removing hard water stains can save you big bucks in the long run. This blog covers everything you need to know about identifying limescale buildup and safely removing it from bathroom tiles, taps and fixtures using natural and chemical cleaners. Let’s get started!
Introduction
Limescale buildup can be an annoying and unsightly problem in bathrooms. Those hard water deposits left behind on tiles, sinks, and faucets not only look bad but can also cause damage over time.
If you are wondering how to remove limescale from bathroom tiles and taps, it takes a bit of effort but should be done compulsorily to keep your bathroom looking at its best. This comprehensive blog covers everything you need to know about getting rid of limescale safely and effectively.
Understanding Limescale
While a little limescale may seem harmless at first, allowing these mineral deposits to keep building up causes major problems down the road. Thick layers of limescale can permanently damage tiles, stain fixtures, clog plumbing, and require very costly repairs. That’s why regular limescale removal is so important for maintaining your bathroom.

What causes limescale buildup in bathrooms?
The main culprit behind limescale buildup is hard water, which contains high amounts of calcium and magnesium minerals. These dissolved rock particles in the water solidify and bind to form limescale deposits. Areas with very hard water tend to struggle with heavy limescale buildup.
As water repeatedly comes in contact with bathroom tiles, fixtures, and plumbing parts, the minerals accumulate faster. Heat and steam from baths and showers also accelerate evaporation, leaving mineral deposits behind. The more moisture and humidity, the worse the limescale becomes if not properly removed.
Identifying Limescale

Being able to identify limescale buildup early is key to staying on top of bathroom maintenance.
Here’s how to spot the telltale signs of limescale:
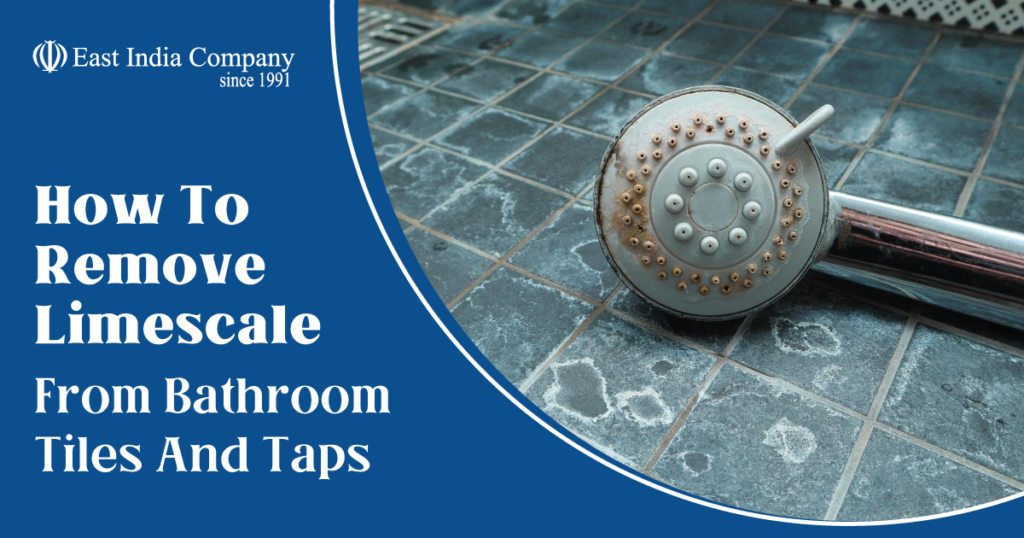
- Appearance: Limescale appears as grainy white, tan, or yellowish crusty mineral deposits. You may notice powdery, chalky bits or a dry residue. Limescale also leaves behind hard water stains in the form of spotty film, drips or runs.
- Texture: Limescale feels gritty and forms a crusty coating on surfaces rather than a smooth film. The texture starts out thin and becomes thicker and crustier as minerals solidify over time.
- Location: Check areas like shower tile grout, sinks, faucets, showerheads and hoses, toilet tanks and bowls, around metal fixtures, and tile seams or corners. Wherever water flows or evaporates is where limescale develops.
- Damage: Letting limescale sit for too long creates permanent stains. The mineral deposits also corrode metals and erode grout and caulking over time. Plumbing fixtures can become irreparably clogged, too. Being vigilant about limescale helps prevent costly damage.
Why It’s Important to Remove Limescale?
Getting rid of limescale before it becomes firmly rooted preserves your bathroom surfaces. Cleaning away minerals right when you first notice them saves you from dealing with deep-set stains down the road.
Here are some of the benefits of staying on top of limescale removal:
- Aesthetics: Bathroom surfaces will look cleaner and brighter rather than discoloured, etched or corroded. Fixtures also shine like new again once mineral deposits come off.
- Prevents Permanent Staining/Damage: The longer you allow limescale to build up, the more likely it will permanently stain tiles, eat away grout lines, pit metal surfaces and require replacement.
- Improves Function: Removing limescale buildup keeps showerheads, sink aerators and other plumbing fixtures working properly. Allowing minerals to block fixtures makes them less efficient.
- Easier Maintenance: Catching limescale early means descaling requires less harsh, dangerous chemicals or intensive scrubbing that can also damage surfaces. Surface pores don’t get clogged with thick mineral deposits, either.
- Save Money: Preventing permanent damage from excessive limescale buildup saves thousands in repairs or replacement costs down the road for things like tiles, sinks, faucets and more.
Natural Limescale Removers

Before reaching for toxic chemical cleaners to remove limescale deposits, try these safe, eco-friendly home remedies first:
1. White Vinegar: The high acetic acid content in vinegar effectively dissolves mineral deposits. Spray or wipe undiluted white vinegar liberally on affected areas, wait 1-2 hours for it to work, then scrub and rinse clean.
2. Lemon Juice: Fresh lemon juice contains citric acid, which breaks down the crusty calcium and magnesium deposits with ease. Boil lemon juice and water in a small pot, then apply to limescale. Let it stay for 30 minutes before you scrub and rinse.
3. Baking Soda: Baking soda is a gentle abrasive cleaner. Mix with just enough water to form a spreadable paste. Apply the paste to tiles and fixtures and scrub gently with a cloth or brush. Rinse thoroughly afterwards.
4. Essential Oils: Oils like lavender, eucalyptus, and tea tree contain degreasing properties that help cut through soap scum. Add a few drops to a baking soda paste and use to scrub limescale deposits off.
5. Coarse Salt/Borax: For tough limescale, make a paste with hot water and coarse salt or borax powder. Apply to affected surfaces, let sit briefly, then scrub vigorously with a stiff brush. Rinse completely after finished scrubbing.
For significant pre-existing mineral buildup, natural removers alone may not suffice. In those cases, you’ll need a commercial chemical limescale remover. Please check product instructions carefully for proper safety precautions when using.
How To Remove Limescale From Bathroom Tiles?

Getting limescale deposits fully removed from tile surfaces and grout lines requires some elbow grease. Follow these steps:
- Based on label instructions, prepare your limescale remover and apply liberally to affected areas. Ensure the product sits adequately. This allows active ingredients time to work dissolving mineral deposits.
- Gently scrub tiles and grout with a stiff grout brush, an old toothbrush, or another cleaning brush. Apply pressure as you scrub to lift and remove limescale effectively.
- Rinse the area very thoroughly with clean water to eliminate all residue. Check carefully for any leftover patches you may have missed, and reapply remover and scrub again if needed.
- Use a squeegee on wall tiles to wipe water down vertically after rinsing. Go over the area with a clean microfiber cloth as well.
- Repeat the descaling process on severely scaled areas until tiles appear clean and grout lines are free of chalky mineral deposits again.
How To Remove Limescale From Taps?

Limescale often winds up collecting around and inside the aerators, spouts, showerheads and handles of bathroom faucets and taps. To properly descale faucets:
- Disassemble tap fixtures to access areas with heavy limescale accumulation, like the aerator screen and showerhead. Soaking overnight in vinegar may help loosen stubborn buildup.
- Use an old toothbrush, pipe cleaner or other small brush to scrub fixtures free of scale deposits gently. Avoid anything too abrasive that could scratch finishes.
- Thoroughly rinse descaled fixtures under running water to eliminate residue before reassembling hardware. Confirm any washers or gaskets are replaced properly.
- Run the faucet for several minutes after reassembly to flush out any remaining loose mineral sediment.
How to Prevent Limescale Buildup?

Implementing prevention best practices helps keep new limescale at bay:
- Install water softening systems or showerhead filters to remove minerals.
- Squeegee glass doors after showering and wipe down tiles frequently to eliminate water spots.
- Remove and soak/clean sink aerators, showerheads, etc., every 2 to 3 months.
- Create a bathroom cleaning routine at least weekly to prevent buildup.
- Seal grout lines with a protective waterproof coating to repel moisture and stains.
- Apply car wax or rain-x treatments to fixtures so water beads and rolls off instead of evaporating behind. Reapply every few months.
Conclusion
There you have- the answer to your query- ‘How to remove limescale from bathroom tiles and taps’. If bathrooms aren’t properly maintained, limescale can become a challenging problem over time once thick mineral deposits set in. Removing limescale thoroughly makes your bathroom tiles, sinks, and fixtures look cleaner and brighter.
Learn to identify limescale buildup early and remember that regular removal is key. Using the descaling methods outlined above will save you from costly damage or repairs down the road. Be diligent about wiping bathroom surfaces dry after use and implementing prevention habits whenever possible as well.
Buy Your Bathroom Fixtures At East India Company!
Are you looking to spruce up your bathroom? East India Company has a great selection of high-quality fixtures that are sure to stand up to limescale.
Invest in fixtures made from durable materials like stainless steel that won’t corrode over time from mineral deposits. Choose faucets, sinks and shower fixtures with narrow openings that won’t get clogged up as easily. Look for finishes that repel water to make limescale less likely to adhere.
A well-designed bathroom makes cleaning and maintenance easier. Shop East India Company’s curated collection now!
FAQs
1). How do you remove stubborn limescale from bathroom tiles?
To remove stubborn limescale from tiles, apply a limescale remover and let it sit as directed, then scrub tiles and grout lines thoroughly with a stiff brush. You may need to repeat the process for severely scaled areas.
2). Can vinegar damage bathroom tiles?
Vinegar can be used safely on most bathroom tile surfaces like ceramic and porcelain, as its acidity is mild. However, it’s best first to test it on a small, inconspicuous area to check for discolouration.
3). What is the best natural limescale remover?
White vinegar is one of the best natural limescale removers, as its acetic acid works to dissolve mineral deposits effectively. Lemon juice, with its citric acid content, also works well.
4). What causes limescale?
Limescale is caused by hard water, which contains high amounts of calcium and magnesium minerals that bond together to form deposits, especially in areas with frequent contact with water.
5). Does Harpic get rid of limescale?
While Harpic is a popular toilet cleaner, it’s not designed or recommended specifically for removing limescale. Commercial limescale removers with stronger acids are more effective at cutting through mineral buildup.


