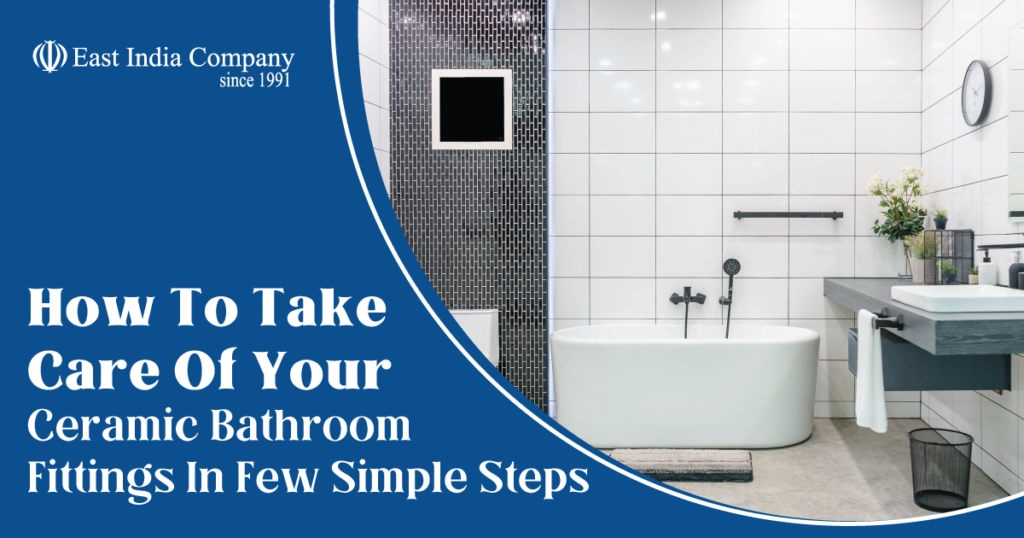
Introduction
Ceramic tiles may give homes a more upscale, polished appearance, particularly in high-traffic areas like kitchens and bathrooms. It’s crucial to give ceramic tiles the right maintenance if you want them to continue looking great and lasting for many years. This guide will show you How to take care of your ceramic bathroom fittings. Let’s start with some suggestions for maintaining bathroom ceramic fixtures.
Why It’s Important to Care for Ceramic Tiles
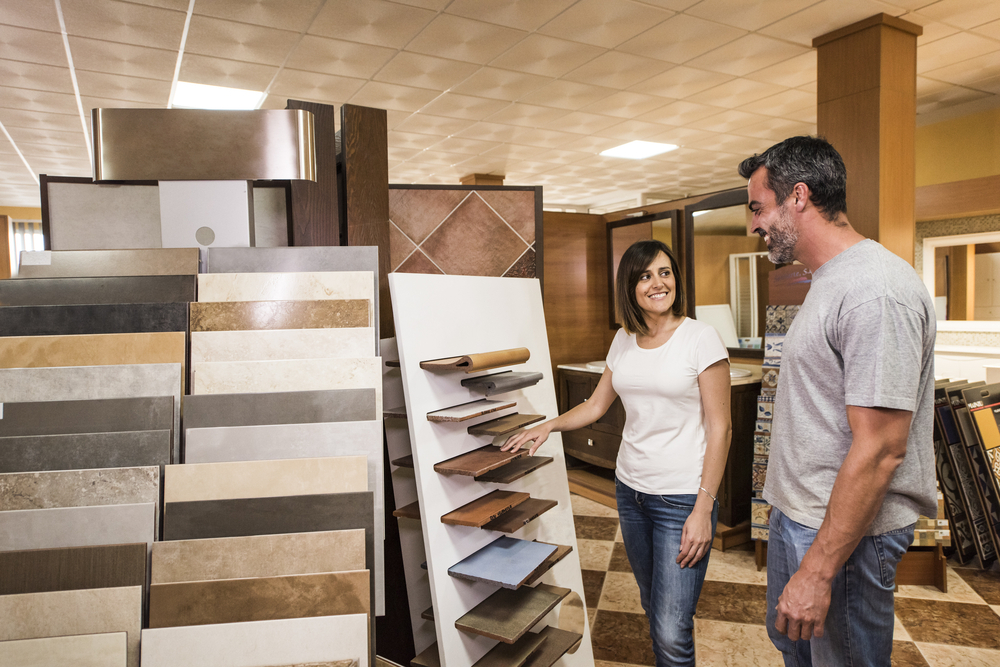
- Although ceramic tiles are long-lasting, they still need regular cleaning to avoid dirt, grime, and mould accumulation, which over time can cause permanent stains on the tiles.
- Ignoring cleaning also causes contaminants to seep in, making subsequent cleaning more challenging.
- Maintaining an appealing, clean appearance protects the tile’s resale or rental value of the home.
- Proper drying and sealing helps protect against cracks and chips from moisture damage.
- Taking care of grout lines is especially important as dirt collects there and can lead to mould or mildew.
| Why ceramic fittings is best for your bathroom? Bathroom fixtures made of ceramic are safe to use with hot water because they are heat resistant, meaning they can tolerate high temperatures without breaking. |
How To Take Care Of Your Ceramic Bathroom Fittings

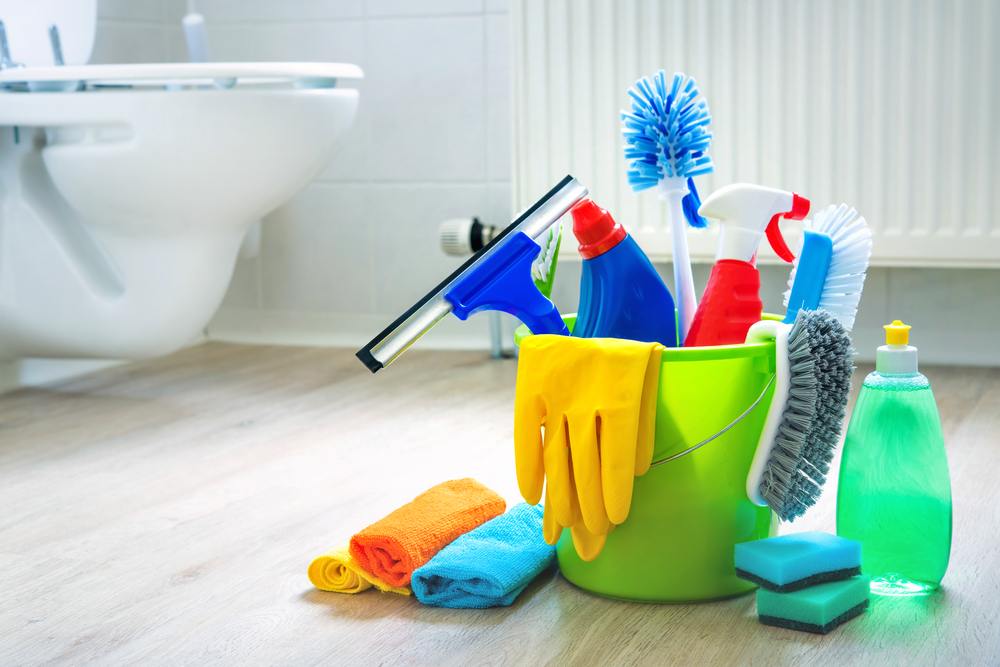
- Sweep or wipe away loose debris before washing to avoid scratching
- Use a mild detergent or cleaner and warm water, not abrasive scouring powders that can damage the glaze
- For light cleaning, wipe with a damp microfiber cloth; heavier cleaning may require a soft brush or sponge
- Rinse thoroughly and wipe dry to prevent water spots or mineral deposits from hard water
- Consider specialized tile cleaners for heavy soil or grease stains that need more de-greasing power
Cleaning Products to Use
- A mild dish soap or vinegar in water frequently works well and is reasonably priced for routine cleaning.
- Baking soda is gentle on tiles and can be used to clean away stubborn problems.
- Commercial ceramic tile cleaners remove soap residue and grease without using harsh chemicals.
- If your tile type is safe, a pH-neutral cleaner or bleach substitute may be required for difficult tasks.
|Quick Read: Best budget water heater to buy
How Often to Clean
- Bathroom tiles should be cleaned after every 3-4 uses to prevent soap scum buildup
- High-traffic areas like showers may need cleaning as often as once a week
- Less used areas like floors can often be cleaned every 2-3 weeks
- Wall tiles can typically go a month between cleanings for light maintenance
- Deep cleaning of all surfaces should occur seasonally or whenever visible soiling appears
Importance of Drying Ceramic Surfaces
- If moisture is left behind, minerals can deposit on tiles as water evaporates
- These hard water stains are difficult to remove and can permanently damage the tile surface
- Prolonged moisture exposure also increases chances of mold and mildew growth
- Wet areas are more prone to cracks and chips as water seeps into fine grout lines
- Drying helps maintain the protective sealant layer that was applied during installation
- Proper drying is critical for preventing issues both aesthetically and structurally
| Did you know:The latest contemporary ceramic faucets frequently have water-saving technologies, which makes them a sustainable option for those that care about the environment. |
Proper Drying Techniques
- For ceramic walls and floors, gently wipe up any remaining water with a clean, dry cloth or paper towel.
- In ceramic shower enclosures, use a squeegee after each use to push water out of the space.
- Place absorbent cotton cloths or towels on the floor and stand on them to soak up excess moisture.
- If the area was heavily soiled during cleaning, use a fan on low setting to hasten the drying process.
- Inspect all surfaces thoroughly, including corners and behind fixtures, to ensure complete dryness before leaving.
- Consider applying a water-absorbing product to ceramic floor tiles for 24 hours following mopping.
Polishing (Optional)
- Polishing refreshes the luster of ceramic tiles and makes surfaces easier to clean
- It can revive tiles that have lost their shine due to age or hard water deposits over time
When Polishing Is Recommended
- Polishing is best for high-end tile installations or for achieving a showroom finish
- It should be done periodically after several years of use and cleaning
- Polishing may also be useful following a renovation where tiles were exposed to construction dust or debris
Polishing Products
- Ceramic tile polishes contain fine abrasives that buff away surface imperfections without damaging the body of the tile
- Liquid or cream polishes are applied with a clean, soft cloth or polishing pad in small sections
- Polishing powders can also be used for more heavy-duty jobs by mixing with water to a paste first
Polishing Technique
- Sweep and thoroughly clean the area before polishing to remove any loose debris
- Apply an even coat of polish in sections using gentle, circular motions
- Allow to haze before buffing with a clean, dry cloth until the desired shine appears
- Polish wall tiles from the bottom up to avoid drips; floors may require two applications for optimal results
Stain Removal
Common stains like rust, hard water deposits, grout haze and mildew require different approaches. With the right product and technique, these blemishes can often be removed without damaging the tile. For example, a mild acid-based cleaner or bleach alternative works well for removing hard water stains if the tiles can withstand it. Stubborn stains may require letting the cleaner dwell before scrubbing. Knowing which stains demand special attention helps keep tiles looking their best.
| Also Read: 30+ Safety features in Bathroom Fittings To Know
Common Stains and How to Remove Them
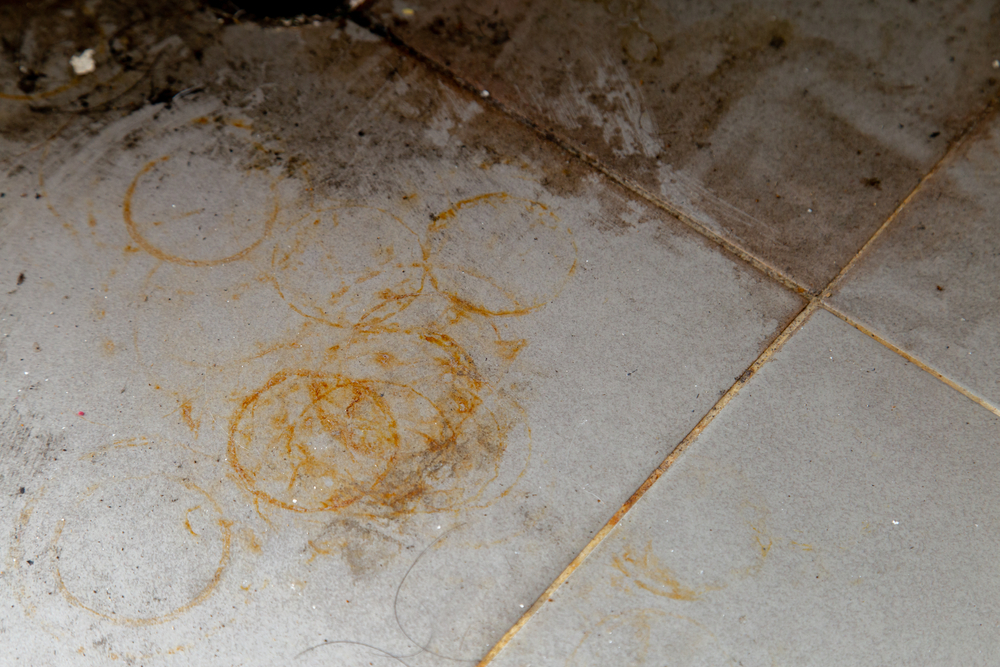
- Coffee, tea, or red wine stains can be treated with hydrogen peroxide or a baking soda paste left on for several hours before rinsing.
- Rust stains from appliances or hardware can be removed with a mild acid cleaner or rust remover. Test on a small area first.
- Hard water deposits appear as white or gray film and can be scrubbed away with a vinegar solution or limescale remover.
- Soap scum and hard water stains in the shower are best tackled with a shower cleaner or all-purpose cleaner with bleach alternative.
- Mildew and mold stains may require a mildew stain remover or making a paste with 3% hydrogen peroxide and baking soda.
- Grout haze occurs when uncured grout is left on tiles; scrub it off with an effervescent cleaner or pumice stone when the grout has fully cured.
Maintenance Of Ceramic Bathroom Fittings
Regular cleaning as described earlier is the foundation of maintenance. Additionally, reapplying a sealer every 1-3 years protects tiles and makes cleaning easier by preventing stains. Inspecting grout lines yearly and regrouting as needed prevents cracks and damage from water intrusion.
Inspecting for Cracks or Chips
At least once annually, closely examine each tile for cracks, chips or damage. Pay attention to high traffic areas. Hairline cracks may be repaired with tile crack filler. Chips or larger cracks indicate tiles may need replacement before the issue worsens. Catching problems early prevents further deterioration and costly replacement down the road.
Here are the details for the subheadings in a pointer format:
Re-caulking When Needed
- Caulk is used to seal joints and prevent water damage behind tiles
- It should be inspected for cracks or gaps yearly and reapplied as those appear
- Bathroom caulk often needs reapplication every 1-2 years due to constant moisture
Other Periodic Maintenance
- Resealing grout lines protects against stains and resists mold/mildew growth
- Check tile backsplash grout above stoves for discoloration from grease splatters
- Inspect tile and grout in shower enclosures for mold growth and retile as necessary
- Address floor tiles that have lost shine or show wear with polishing
|Quick Read: Types of bathtubs for your bathroom
Additional Tips for Caring for Ceramic Surfaces

- Use mats in entrances to prevent dirt and grit from scratching floor tiles
- Avoid abrasive cleaners or scrubbing that can damage tile surfaces over time
- Limit use of acidic cleaners which may dull or etch polished tile surfaces
- In bathrooms, wipe up water after showers to prevent mineral deposits
- Consider installing a water softener to reduce hard water stains on tiles
Incorporate these detailed insights into your ceramic tile care routine, and witness the enduring beauty of your tiled spaces. Proper care ensures that your ceramic tiles remain a timeless and elegant feature in your home.
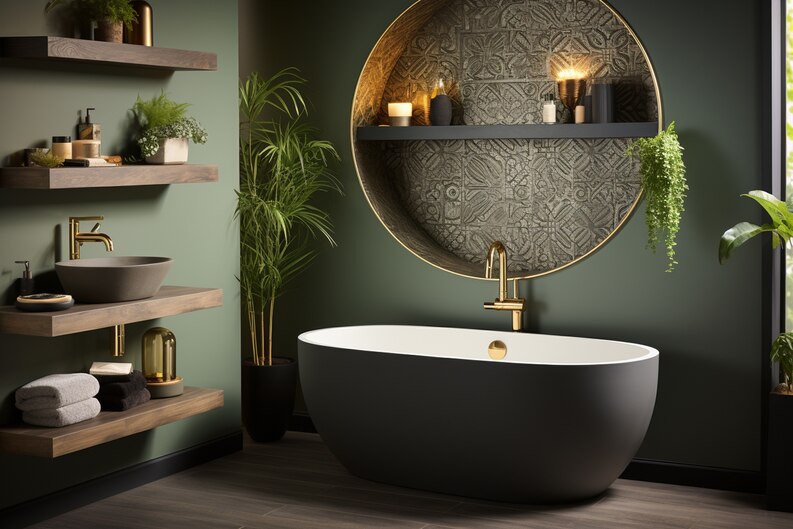
Get the Best Ceramic Bathroom Fittings at East India Company
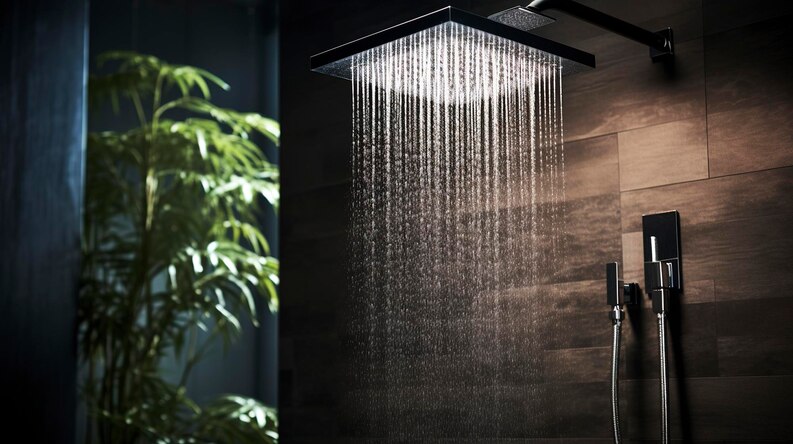
East India Company offers a premium selection of sanitary ware to upgrade home bathrooms in Chennai. As the city’s leading supplier, they stock top brands and a wide variety of products and best bathroom fittings dealer in Chennai. Customers can browse their showroom to find high-quality toilets, cisterns, faucets, shower panels and bath fittings crafted with precision.
Their collection stays on top of the latest trends, with options like touchless faucets, rainfall showerheads and chromotherapy showers. Experienced designers can help bring clients’ design ideas to life. You can either visit the store in person or shop online. Customers will experience world-class bathroom solutions built to last, as quality is a top priority at East India Company. Their products are designed to enhance bath spaces through durable and stylish solutions.
Conclusion
I hope this blog provided enough insights on how to take care of your ceramic bathroom fittings, following these tips can increase the expectancy of the fittings and the polish will also be intact for longer suration. Ceramic bathroom fittings care tips is not just about maintaining their appearance but also about preserving their functionality and longevity. Regular cleaning, proper drying, and periodic maintenance such as re-caulking and resealing grout lines are essential.
Addressing common stains, inspecting for damage, and optional polishing can keep these fittings looking new. By following these simple steps, homeowners can ensure that their ceramic bathroom fittings remain a beautiful and durable part of their home. Embracing these practices will lead to a cleaner, more hygienic bathroom environment and potentially save money on future repairs or replacements.
Checkout Our Best Selling Categories

| For Latest Updates and Trends Checkout Official East India Company Instagram Page |
FAQs Related To How to take care of your ceramic bathroom fittings
1. How do you install a ceramic fixture?
Install a ceramic fixture by securely mounting it in place according to the manufacturer’s instructions.
2. How do you clean a ceramic pot filter?
Clean a ceramic pot filter by scrubbing it with a brush under running water.
3. How important is ceramic water filter maintenance?
Ceramic water filter maintenance is very important to keep it working properly over time.
4. How often should a ceramic pot be cleaned?
A ceramic pot should typically be cleaned every 2-4 weeks for best performance.


